
Puedes leer este articulo en Español AQUÍ
Intro
The commission from the Kaleidos communications team for an interactive piece for the opening of Penpot Fest 2025 was the origin of Penpot’s Whac-A-Mappole. Committed to producing the piece entirely with free software, I began developing this proposal.
The piece is a real-time interactive video mapping projected onto a surface of geometric reliefs designed for the work, and made entirely with open source software.
The main intention of this work is to demonstrate that a piece of this nature can be made with free software.
Part 0: Open source mapping
HYears ago, there was MapMap, a fairly modest and easy-to-use open source video mapping software. But three years ago, it was labelled as unmaintained due to a host of unsustainable dependencies, leaving the free software visual artist community without any mapping solutions.
It is true that there are some sophisticated solutions, such as Omnidome or Splash, which can manage multiple projectors on complex surfaces such as domes or immersive environments, but they are far from the ease of use of MapMap.
At the beginning of this year, I started working on a mapping tool developed with Godot, with the intention of filling that gap. The goal is not to compete with the solutions used by large productions, but to provide a simple tool for all those who want to explore a genre as striking and satisfying as video mapping. And along the way, to open the door to any kind of experimentation. That door that always remains open with free code.
Penpot’s commission was a decisive push to complete the tool and put it into practice.
The mapping tool is expected to be released in the near future, but is currently still under development.
In this article, I will review the development phases of this piece and share the code for some solutions to the problems encountered. It is a project that took four months to develop, so make yourself comfortable, as there is quite a lot to tell.
Part 1: From concept to execution
Technical stuff…
Initially, the idea was to create a video mapping installation that would remain in place in a room for the entire duration of the event, but the lighting conditions at the venue meant that it would not be possible to enjoy the piece during the day.
That is why it was decided to limit the duration of the piece to the opening party, where we had the possibility of closing the blinds on the roof of the main hall to control the lighting in the environment.

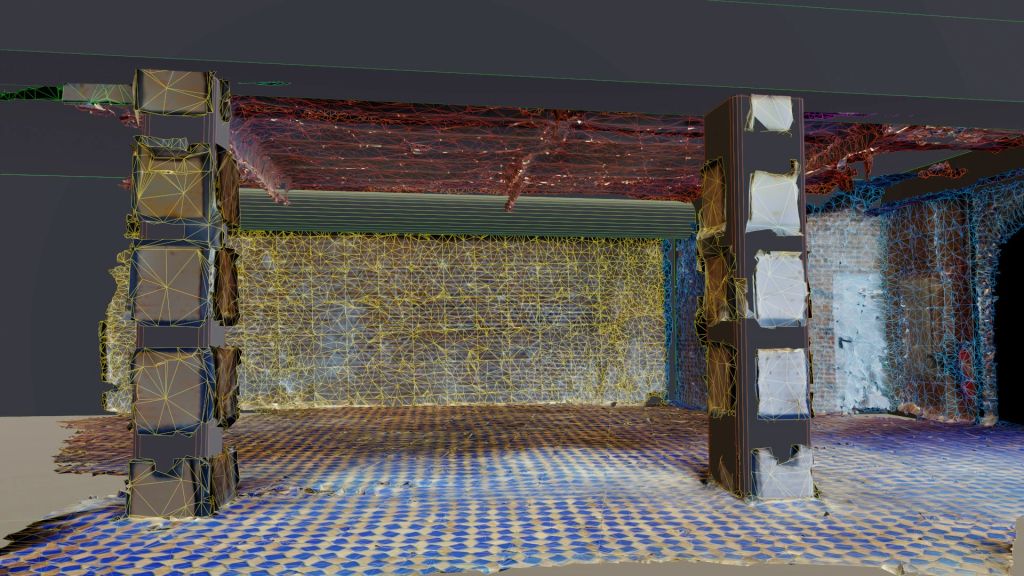
As a first step, I captured the location using photogrammetry so that I could perform the technical calculations for the projection and choose the projector’s optics and power.
As the walls of the space are a brick canvas, I proposed building a cardboard set design to create a more attractive relief on which to project the piece.
I decided to cover an area measuring approximately 5 x 6 metres. The projection surface will be approximately 4.5 metres wide by 2.5 metres high. Players will be positioned approximately 5 metres from the surface, directly below the projector.


With all this data collected and the technique solved, I was able to begin the concept development phase.
Logo playground
The concept work begins with playing around with the Penpot logo to seek inspiration.

Since the isotype is a box in a more or less orthogonal view, a few modifications to the proportions allow me to fit it into a regular hexagon, turning it into a tessellable element.


Interaction elements
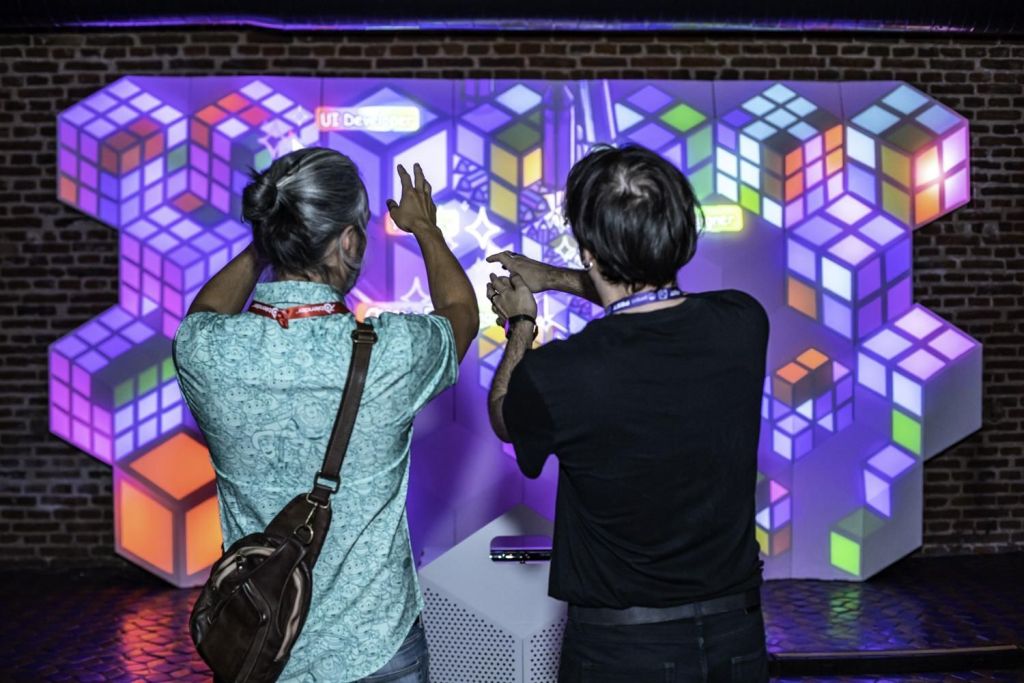
In this piece, I propose two ways of interacting with the surface. On the one hand, the idea is for the surface to behave like an interactive mirror, using a Kinect to detect any movements that occur in front of it.
On the other hand, to express the concept of collaboration so characteristic of Penpot, we will have four mice converted into interactive game controllers interacting with the piece.
Surface design
Once the hexagon-cube has been identified as a tessellating element, the idea of building a wall of cubes gains momentum. The idea is to flatten the perspective in order to construct a bas-relief that maintains the orthogonal perspective and makes it easier to establish a structure on which to deceive the viewer’s eye when we make it gain volume with light.

Along the way, I worked with several false orthographic projections that achieved interesting effects, but I discarded them because they greatly complicated the production of the mural, as each module turned out to be completely different. In any case, I later reused this concept of false orthography in the main menu elements.
The module was designed with geometry nodes, allowing me to create the 10 variants we needed and run different tests until we found the ideal number of blocks and size for each one.

Once the module and its variants have been finalised, they are exported to a paper model using the Export Paper Model Add-on by Adam Dominec, included in Blender extensions.
The models exported by this add-on are designed for lightweight cardstock or cardboard. The folds and flaps were adapted to a thickness of 4.5 mm by hand in Inkscape.
Before sending the final templates to the signage company, I produced a 1:4 scale model using 1mm corrugated cardboard to check that everything was correct and also to carry out projection tests in the final phase of the project.

The following video provides a simplified summary of the process.
Part 2: Midi controllers and game controllers
Given the peculiarities of the piece, I implemented a series of features into my mapping tool so that I could have everything under control.
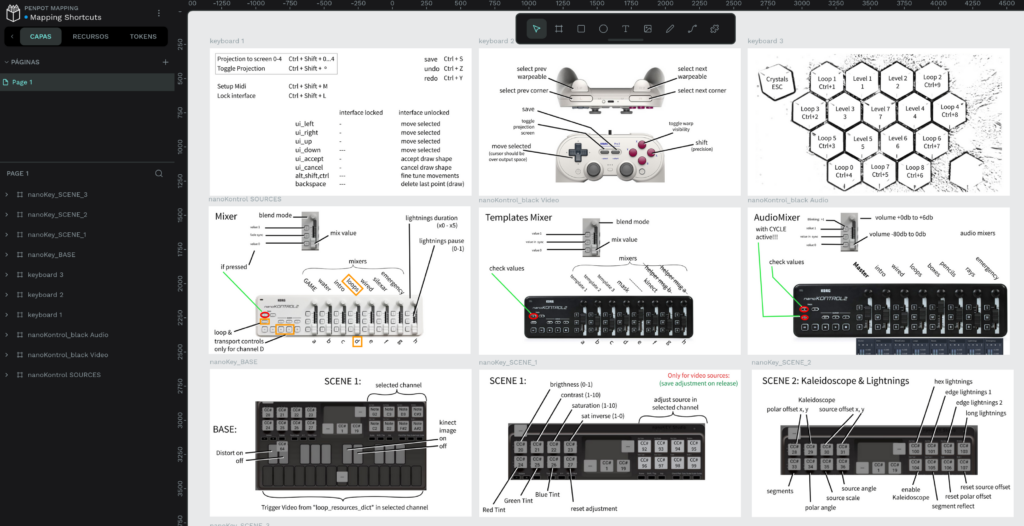
On the one hand, since I only had a few hours to adjust the warping of the piece, I implemented shortcuts to manage the entire warping process from a game controller, so that I could make adjustments standing up, close to the mural, instead of sitting at the computer and using binoculars, as is usually done.

On the other hand, I added the use of MIDI controllers, so I could make various adjustments and configurations to the software in real time, during the deployment of the piece and even during the performance. Colour and contrast adjustments in each clip, layer blending adjustments, a sound mixing desk to regulate each effect, and different shortcuts to launch or reset levels in case there was a problem or something went wrong (which, fortunately, was not necessary).
Part 3: The game
Game elements
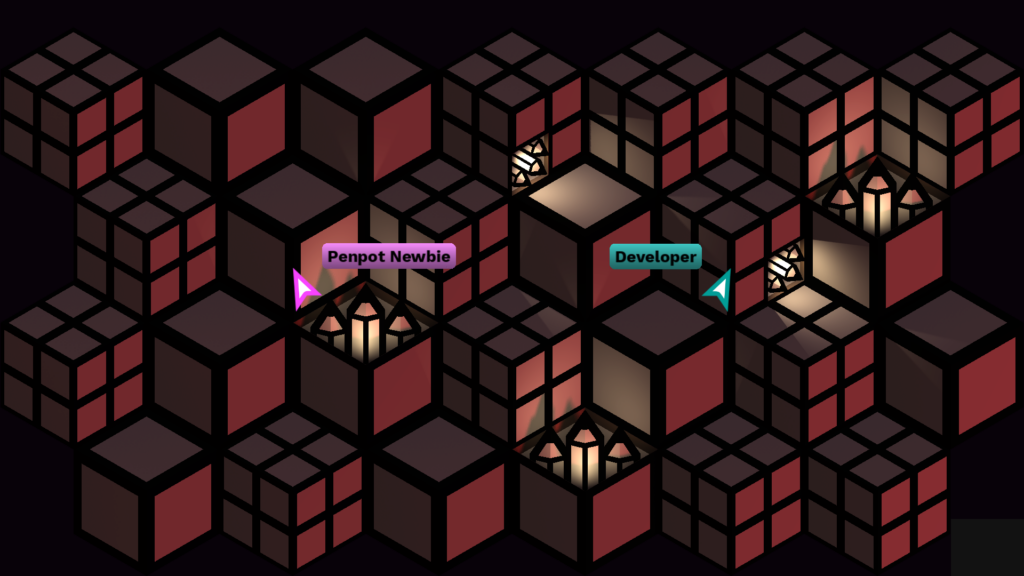
The game is basically a casual party game based on the classic Whac-a-Mole (the game where you hunt moles with a hammer). In this case, you hunt pencils with the cursor. While one of the players moves in front of the surface to open the boxes, the others can click on the pencils to collect them.
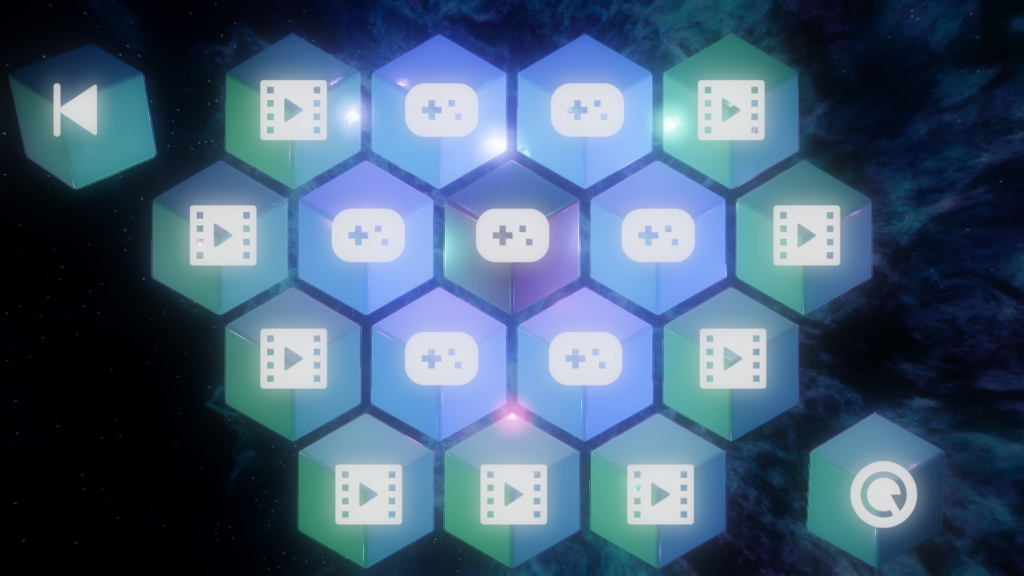
There are a total of 7 different levels, which are unlocked successively. Each one plays an animation at the end. In the main menu, the player standing in the centre can choose which level to play next, or they can replay any of the unlocked animations.


There are two ways to interact with the piece:
Kinect camera
A Kinect camera that detects the movements of spectators in front of the mural. Thanks to the libfreenect library, I have implemented depth camera reading and use it at two different points in the game.
In the selection menu, an algorithm is used to detect the most advanced point of the viewer’s body, which is used to direct a pointer that allows objects to be selected.
At the game level, boxes open or close depending on the player’s location.
These two implementations are published in a demo that can be found here:
https://codeberg.org/asturnazari/penpot_mapping_kinect_demo
Mouse Controllers
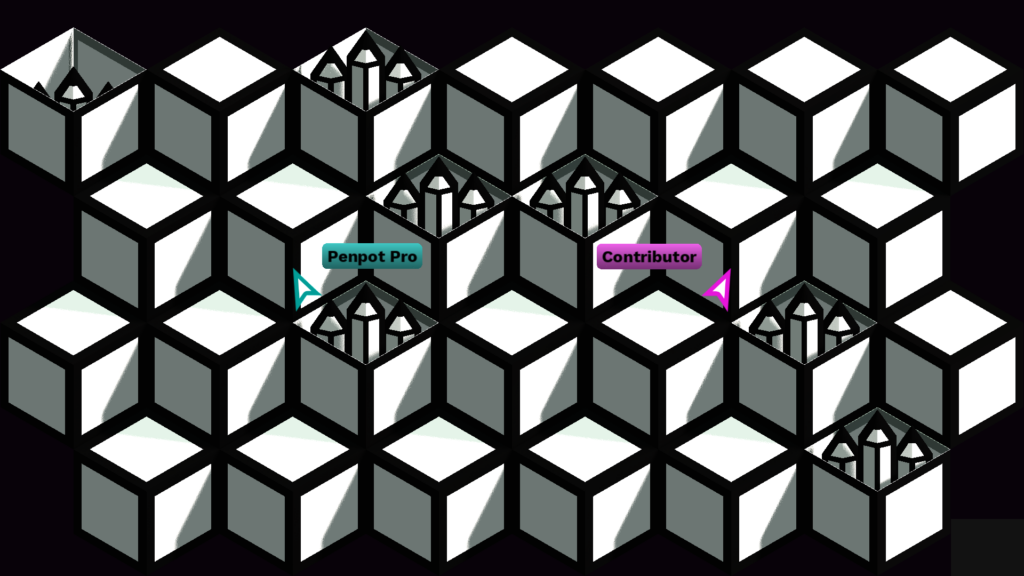
While one of the spectators moves to open boxes, four mouse pointers are arranged to move their respective cursors in the game level. With these cursors, players can click on the pencils to collect them.
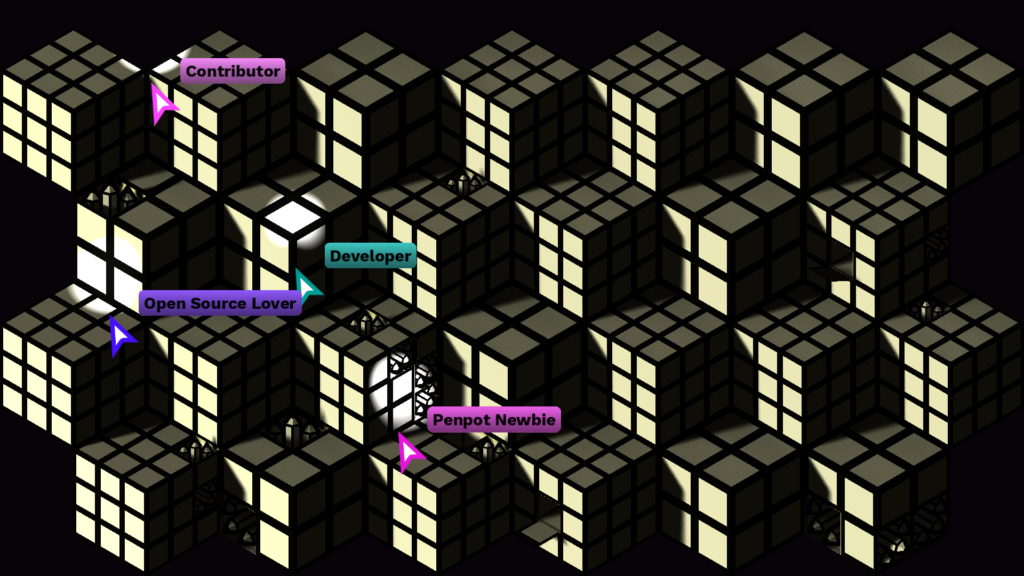
At the beginning of each level, each player is randomly assigned a role and a colour. The LED on each mouse is coloured with the assigned colour. During level selection or while an animation is playing, the LEDs on the mice remain off to indicate that they are not in use.
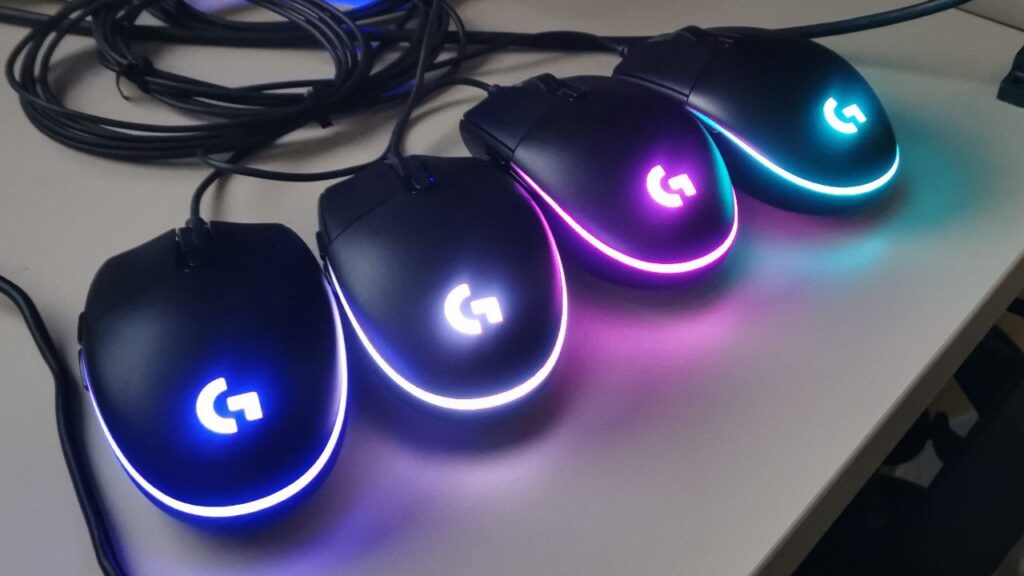
In order to use four mice without interfering with the operating system, my friend Roberto MF (Roboe) developed a mouse controller that ejects each of these devices from the system according to their serial number and takes control of them by reading the USB port and interpreting the raw data from a Python script that we run within Godot.
If you are interested in learning how we did it, we have also published a demo:
https://codeberg.org/asturnazari/penpot-mapping-mouse-demo
Easter Eggs
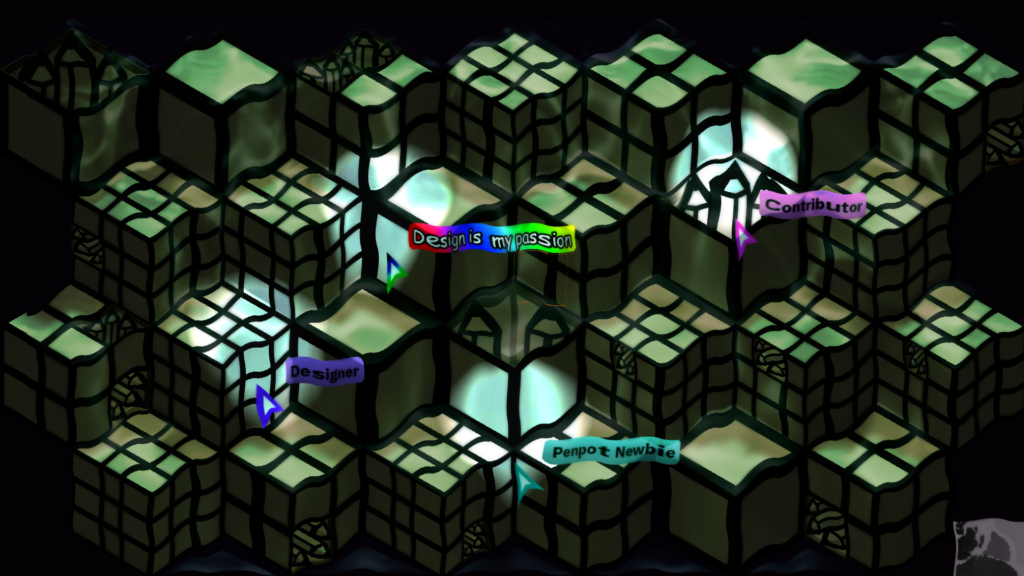
As a joke for the designers, halfway through the game a special role is unlocked. When a player obtains the role ‘Design is my passion’, they also gain the ability to add colours to the penpot boxes. This added a bit of chaos and confusion, mixed with humour, which helped the party atmosphere.
At a certain point in the piece, a feature of social denunciation was activated.
Part 4: Animations
Scattered throughout the game levels, some animations mapped onto the surface are triggered in the piece.
The following clip shows a summary of the animations, which together lasted 12 minutes.
Part 5: Thoughts on the video on Godot
This project relies on the experimental EIRTeamFFmpeg plugin to be able to use video codecs other than OGV. The main problem with OGV is its extremely high bitrate. When high-quality, high-resolution videos are needed, one cannot rely on codecs with such a low quality/compression ratio.
To maintain consistency in the piece and to respect the licences and spirit of open source, I have used a modified version of this plugin, with a set of ffmpeg codecs that meet the requirements. Specifically, I have used an LGPL release from this FFmpeg-builds repo.
I used the webm (vp9) codec, with high-quality options for all clips, and the results were very good. For some effects, I played up to five HD video sources simultaneously, with loops and random jumps in playback, while applying colour correction shaders to all videos and mixing sources in a final shader without any drop in performance. The possibilities are endless.
Unfortunately, some features that are still missing and would be ideal for this type of piece (video mapping, VJ performance, etc.) are:
- Control video playback speeds (to synchronise sources, adjust to bpm, mix loops with different durations, etc.)
- Perform scrubbing with the video paused (currently, it is not possible to acquire a frame from a specific time if the video is stopped or paused).
I still need to explore the implementation of ffmpeg that Voylin is working on. I understand that it includes some of these features.
Furthermore, there is not much information available on how to manage the colourimetry of control nodes (video players are control nodes and do not seem to be affected by the environment’s tonemap settings). I still need to find better information on this subject.
In summary, Godot is an excellent tool for developing this type of work. It has an undeniable future, following in the footsteps of Blender and other FLOSS tools. I am sure that simpler solutions will be found for implementing video work, and I have no doubt that in the future we will see more artistic pieces created with this game engine.
Conclusion
It has been a pleasure to develop a piece like this. I would like to express my gratitude to Kaleidos and the Penpot communications team for committing to a project like this to illuminate their Penpot Fest.
I was given complete freedom to develop my creativity, and the whole ensemble benefited greatly from this.
It is fortunate that there are companies that remain committed to the ideals represented by the open source ecosystem.
I must also thank my friend and collaborator Roberto MF (Roboe) for all his help and support. In addition to developing all the mouse controllers, he helped me fine-tune the Kinect code and test and debug here and there when things got difficult. Even during the final performance of the piece, he was at the controls, keeping an eye out for anything that might go wrong. I was very lucky to have his help.
You can read an interview about the piece in The Penpot Brief
One thought on “Penpot’s Whac-A-Mappole: a FLOSS interactive mapping. (en)”